サーバへ送られる文字列
クライアントが GETリクエストする時、サーバに送られる文字列は 「リクエストライン」と「リクエストヘッダ」の2つです。
GET /index.html?name=taro HTTP/1.1
Host: localhost:8080
Connection: keep-alive
User-Agent: Mozilla/5.0 (Windows NT 10.0; Win64; x64) ...
Accept: text/html,application/xhtml+xml,application/xml;q=0.9,image/avif,...
Accept-Encoding: gzip, deflate, br
Accept-Language: ja,en-US;q=0.9,en;q=0.8
(空行)
リクエストライン(1行目)
- メソッド (GET): リソースの取得を要求
- リクエストターゲット (/index.html?name=taro):
- /index.html: サーバ上のファイルの場所
- ?name=taro: クエリパラメータ。サーバ側のプログラムに渡す引数
- HTTP/1.1: 使用するHTTPプロトコルのバージョンです。
リクエストヘッダ(2行目以降)
- Host: アクセス先のドメイン名(例: example.com)。
- User-Agent: 使用しているブラウザやOSの情報。
- Accept: ブラウザが理解できるファイル形式(text/html など)。
- Accept-Language: 希望する言語(ja など)。
例えばURLが http://localhost:8080/search/result.html?q=python の場合
- リクエストターゲット: /search/result.html?q=python
- パス部分: /search/result.html
- クエリ部分: ?q=python ー> キーワード "q" の情報は”python”という意味
このクエリのデータを元にサーバはクライアントの要求に対応して行きます
リクエストラインからのデータの取り出し
Pythonにはリクエストラインからデータを取り出す為の関数が幾つか用意されています。
- self.path:リクエストラインからデータを取り出す
- 主なリクエストラインと self.pathの例
-
リクエストライン 内容 self.path の値 http://localhost:8080/ サーバアクセス / http://localhost:8080/images/cat.png 画像データ要求 /images/cat.png http://localhost:8080/search?q=python データ送信 q=python /search?q=python
- urlparse(self.path):文字列が以下の6つの要素を持つオブジェクトに変換される
属性名 内容 例 path パス /search query パラメータ部分 q=python scheme 通信プロトコル http netloc ネットワークの場所 localhost:8080 params セミコロンで区切られたパラメータ 通常は空 fragment ページ内のアンカー section1 など - parse_qs(parsed.query):「クエリ文字列」を「辞書形式」に変換する
- "q=python" -> {'q': ['python']} に変換される。
- a=next(iter(params))
- iter(params):辞書を「反復可能な状態(イテレータ)」に変換。
- 辞書をイテレータにすると、その「キー(Key)」を順番に取り出せる。
- next(...):
- イテレータから次の要素を1つ取り出す。
- 一度取り出すと、その要素は「消費」された状態になる。
- なぜこの形式を使うのか
- クエリが辞書型に変換された時サーバは辞書の最初のキーが分からない
- この方法だとキーが分からなくても要素を取り出せる。
- iter(params):辞書を「反復可能な状態(イテレータ)」に変換。
動作確認
動作確認の為、index.html、hello.css、hello.pyを用意。これを同じフォルダに保存します。
index.html
<!doctype html>
<html>
<head>
<meta charset="utf-8">
<meta name="viewport" content="width=device-width,initial-scale=1">
<link rel="stylesheet" href="./hello.css">
<title>http-server 1.0</title>
</head>
<body>
<div class="t_font b_frame">
<center>
<p>HTTP-Server 1.0</p>
<form method='get'>
<button type='submit' name='button' value='a' >On</button>
</form>
</center>
</div>
</body>
</html>
hello.css
@charset "UTF-8";
.t_font {
font-size: 32px;
font-weight: bold;
font-style: italic;
color: #ff0000;
}
.b_frame {
width: 400px;
background: #363636;
padding: 15px;
border-radius: 10px;
margin-top: -30px;
margin-right: 10px;
}
button {
display: block;
margin: 10px;
line-height: 50px;
cursor: pointer;
color: #fff;
background: #228b22;
border-radius: 10px;
font-size: 24px;
width: 120px;
}
hello.py
hello.py
python
from http.server import HTTPServer, SimpleHTTPRequestHandler
from urllib.parse import urlparse,parse_qs

class MyHandler(SimpleHTTPRequestHandler):

    def do_GET(self):

        if self.path == "/?button=a" :

            parsed = urlparse(self.path)
            params = parse_qs(parsed.query)
            a=next(iter(params))

            #-----  Button  --------------
            if a == "button":
                print("ボタンが押されました")
            else :
                print("無効はデータ")

            f = open("index.html",'rb')
            self.send_response(200)
            self.send_header('Content-type', "text/html")
            self.end_headers()
            self.wfile.write(f.read())
            f.close()

        else :
            super().do_GET()

host = ''
port = 8080
httpd = HTTPServer((host, port), MyHandler)
print('serving at port', port)
httpd.serve_forever()
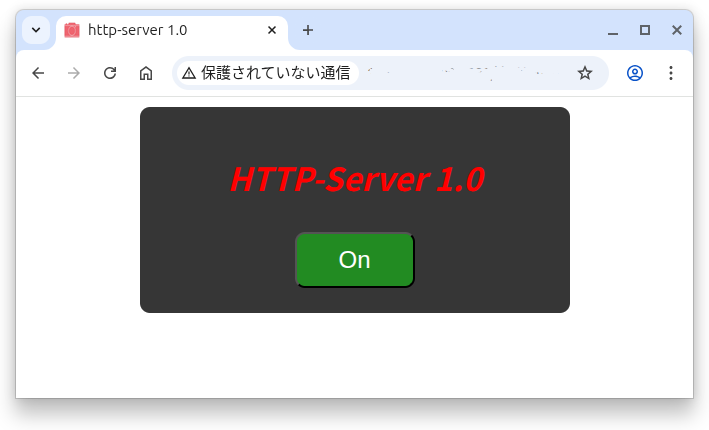
hello.pyを実行しブラウザにアクセスすると下記が表示されます。
"hello.py"の説明
- クライアントが "raspberrypi.local:8080" とサーバにアクセスすると self.path に ”/” が入ります
- 8行目のIF分でFailとなり27行目に飛ぶ
- super().do_GET()により”index.html”が送信される。
- index.html内のCSSファイル要求時はself.path は”/hello.css"となる
- これも8行目の判別で27行に飛ぶ
- super().do_GET()に処理される。
- ボタンを押した場合、self.path は”/?button=a"となる
- HTMLのコード”name" が”?”の次に。”value"が”=”の次に入ります。
- 8行目のIF分でTrue。10,11,12行と進みデータを取得
- 取得したデータが”button"なので"ボタンが押されました"を表示
- その後、クライアントにリクエストを受信した事を返答
- index.htmlを送信して処理終了
次回は
GETリクエストの仕組みが分かって来ました。次回はサーバのHPを 自作製品のコントロール画面に使用する例について説明したいと思います。